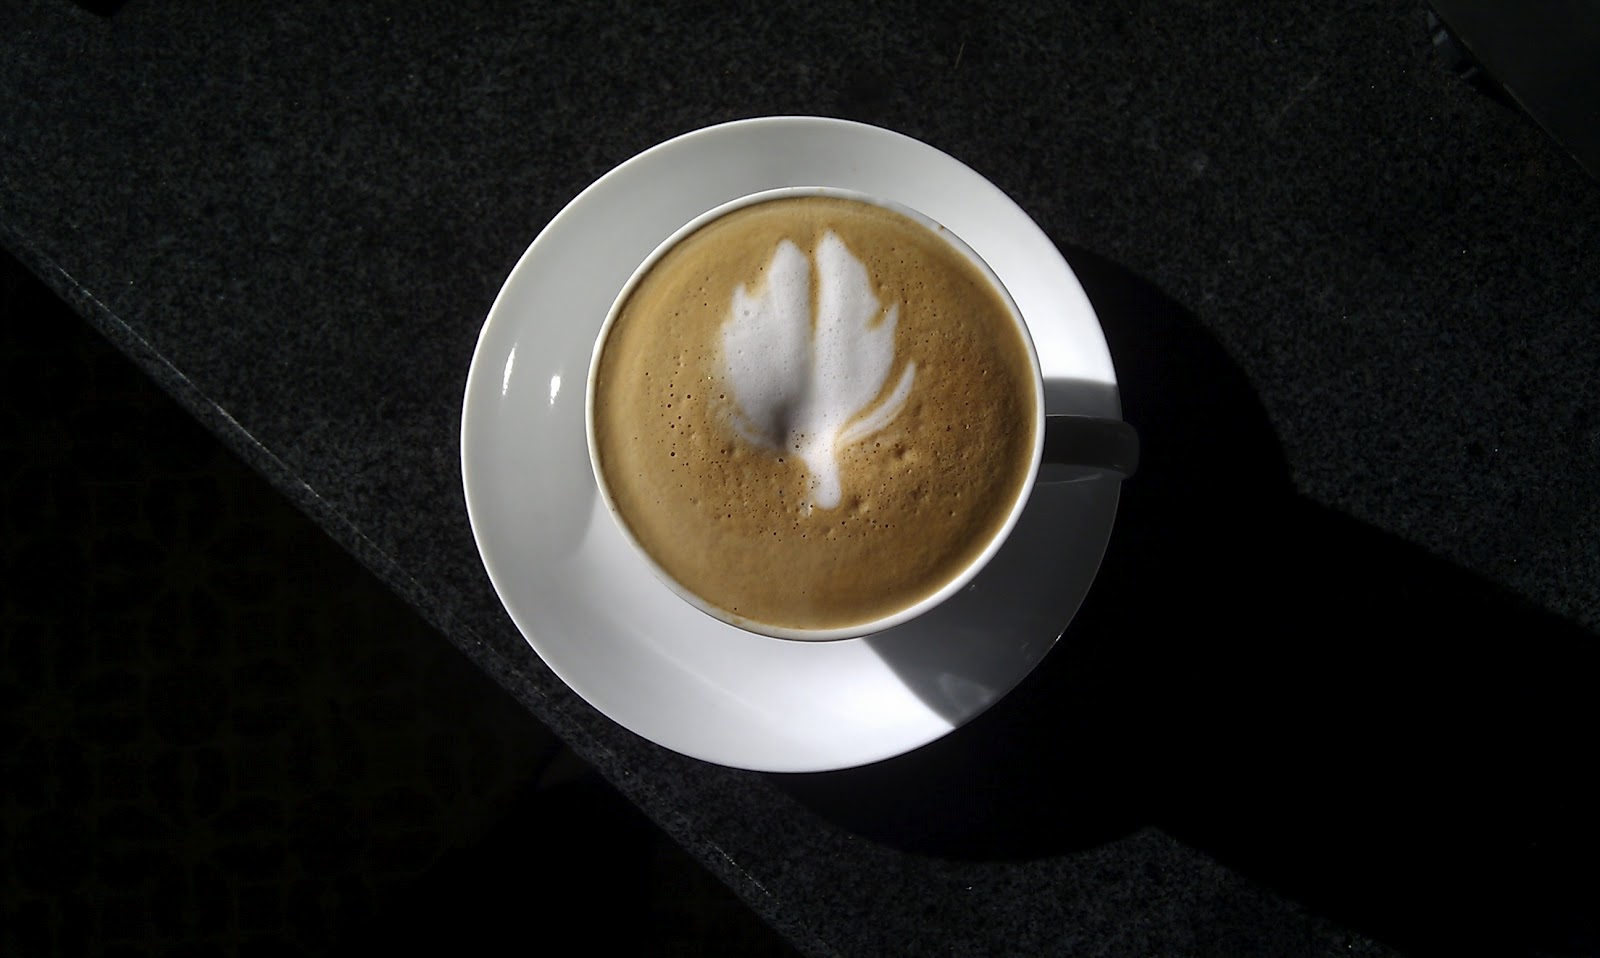
I call this one "Autumn in a Cup". I mean it's not that it looks bad, but it wasn't the look I was after, I will eventually get that rosetta happening. This time I was a little too heavy-handed on the pour at the end...I did the initial "deep diving stream" to make my "canvas", I increased the pour volume..I wiggled the jug..and then my hand tipped forward all by itself and I ended up with "Autumn in a Cup" instead of "Ooh..Rosetta!".
Still I'm fairly happy with how the coffees are turning out these days. If I ordered one of these in a cafe, I'd be very happy with what I got. I know that is a bit self-congratulatory, but if you saw how many shitty cups of coffee I had to make (and force my partner to drink) to get to this point, you would understand why.
2 things changed which started the dramatic improvement of the flavour and texture of my coffee:
1. I changed coffee machines; I now use the Sunbeam Cafe Series Espresso Machine (EM6910) which has a dual thermoblock - IE you can pour a shot of coffee and texture milk at the same time, I'll explain why that's important shortly.
2. I had a bit of a milk epiphany; like many coffee enthusiasts out there, I'm a total amateur when it comes to actually making the coffee. There's no substitute for technique and skill, no matter how many books you have read. The epiphany was this: When texturing the milk in the jug, don't wait for the milk to look frothy before you stop texturing it.
That was the big mistake I seemed to have been making. For those of us (including myself here) with the dirty minds, you need to pull out before the point of no return. Eventually after making a few cups of coffee you just get a feel for the timing; if there is a bit of froth appearing directly in front of the steam wand as the milk is swirling (like a whirlpool) and your milk has been expanding (rising in the jug) as you have been texturing then shut off the steam, tap the jug on the bench to release any extra air, and start pouring.
I thoroughly recommend getting latte glasses so you can actually see what is happening when you're pouring the milk into your espresso shot. The effect is not unlike pouring a beer, the froth on top forms basically like the head of a beer.
Going back to why dual thermoblocks are awesome (there are a few espresso machine models out there that do this) is that timing is a factor in making a great cup of coffee. You want your milk to be ready as close as possible to the point where you have just finished your espresso shot, if you want to have a crack at latte art anyway. The reason for this is that if the espresso shot is patiently waiting in your coffee cup for you to hurry up with the damn milk, then the crema may disperse before you can draw pretty pictures on it.
The inverse is also a problem, if the textured milk is sitting there waiting for you to grind, tamp and pour the espresso shot, the froth will separate from the milk..so when you go to pour, you end up with the effect of pouring straight hot milk, and scooping your froth out with a teaspoon. Which looks and tastes a bit crap. This is especially a problem with low-fat milk as the separation process happens much faster.
So the ability to do both at essentially the same time is fantastic for a little home espresso machine. Just pre-grind and tamp your coffee in the basket, load it up in the machine, start texturing your milk and about halfway through that (you will work that out) kick off the espresso shot. They should finish within seconds of each other.
Anyway, assuming anyone actually ends up reading this blog, I thought you might appreciate benefiting from lessons I've learned so far.
Cheers,
Brandon.
No comments:
Post a Comment